For about a year I’ve been trying to see the Milky Way, which isn’t visible in the light polluted Los Angeles Area, and after visiting a handful of dark sky spots: Joshua Tree National Park, Death Valley National Park, and Fairbanks, Alaska, and not seeing it due to weather or other conditions; I finally caught my first breathtaking view of the Milky Way on the Big Island of Hawaii. *See bottom of post for more on this
Since then my next goal has been to photograph the Milky Way. Initially I just assumed that I couldn’t do it without thousands of dollars of equipment, but after some research, learning and a lucky attempt in Raglan, New Zealand on a night with just the right conditions, I realized that it’s possible to capture spectacular images of the night sky with a mid-level DSLR or mirorrless camera.

What you need:
Equipment:
- Camera: Sony A6000/6300/6500. Or any similar/comparable camera.
- Lens: <=2.8f aperture. I have this: but any similar lens <= 2.8f should be fine. The bigger the aperture (lower f number) the better because it lets in more light. But might be able to use up to a ~4f, you’ll just have to use a higher ISO which sacrifices image quality and introduces noise. The photo can still turn out beautiful though with some additional post processing.
- Tripod: I used a mini flexible tripod because I was traveling. It wasn’t the greatest but anything that you can adjust, can keep you camera pointed towards the sky and stable without any movement will work.
Camera Settings:
- Aperture: 2.8f or set to widest available (lowest number)
- Exposure: 20 - 25 seconds. If you use a longer exposure than this you’ll start to see star trails from the stars moving (unless you want that effect). This also varies slightly based on your camera sensor/lens but with my setup here, the sweet spot was 20 - 25 seconds.
- ISO: 5000-6400. Adjust based on your liking. The higher the ISO the ‘brighter’ the photo but it’ll also introduce more image noise. I found 6400 to be good for a detailed milky way photo and 5000 for a darker more ‘dramatic’ photo.
- Set the camera on a 2 second delay/self timer. This is extremely important because otherwise the slight motion of you pressing the shoot button will cause motion blur in your photo. This way, you have time to click the shutter button and step away.
- Don’t zoom. For photographing the sky zooming will usually lower the quality of the photo and make it darker.
Conditions:
- Sky: Completely dark, clear, no/minimal clouds.
- Moon: No moon in the sky: New moon or before moonrise or after moonset.
- No terrestrial lights nearby that your camera would be able to pick up. Any nearby lights like campfires/lanterns should be blocked from view of your camera.
- Milky Way Position: If you can’t clearly see the Milky Way or find it in the sky, use a night sky app to locate it. It’ll help to do some research before you head out so you know generally where the Milky Way will be and plan your shot accordingly. For example in the northern hemisphere the Milky Way core doesn’t ever rise too far above the horizon so it’s more difficult to get an unobstructed shot of the core, whereas in the southern hemisphere the galactic core can be directly overhead. (The shots taken in this post were all from the Southern Hemisphere)
Thanks to modern science and technology though, predicting weather, Milky Way positioning, moon phases and dark sky areas are just a quick internet search away and with proper planning you’ll be able to maximize your chance of being out during the right conditions. If you can see the Milky Way with your naked eye, then you’ve got perfect conditions. If you can barely kinda see it, conditions are decent enough and you’ll probably still be able to capture it with you camera.
So you’ve got your equipment, settings in mind and are in the right conditions. Now comes the exciting part!
Taking the Photo:
- Point your camera to the sky generally at the Milky Way (just take your best guess).
- Find a bright star that shows up as a pinpoint in your viewfinder and manually focus until that star is clear (infinite focus won’t work neither will auto focus).
- Click the shutter button and wait the 20-25 seconds for the exposure. Try to block any kind of wind or anything from causing even the slightest vibration to your camera. I needlessly held my breath just because I was too excited.
- See what you get in your image preview after the picture completes processing.
- Adjust the composition and position of your camera to get the stars/Milky Way in the place you want in the shot.
- Double check that the stars are in focus, no star trials, etc.. tweak settings and keep shooting until you get what you like!
Troubleshooting:
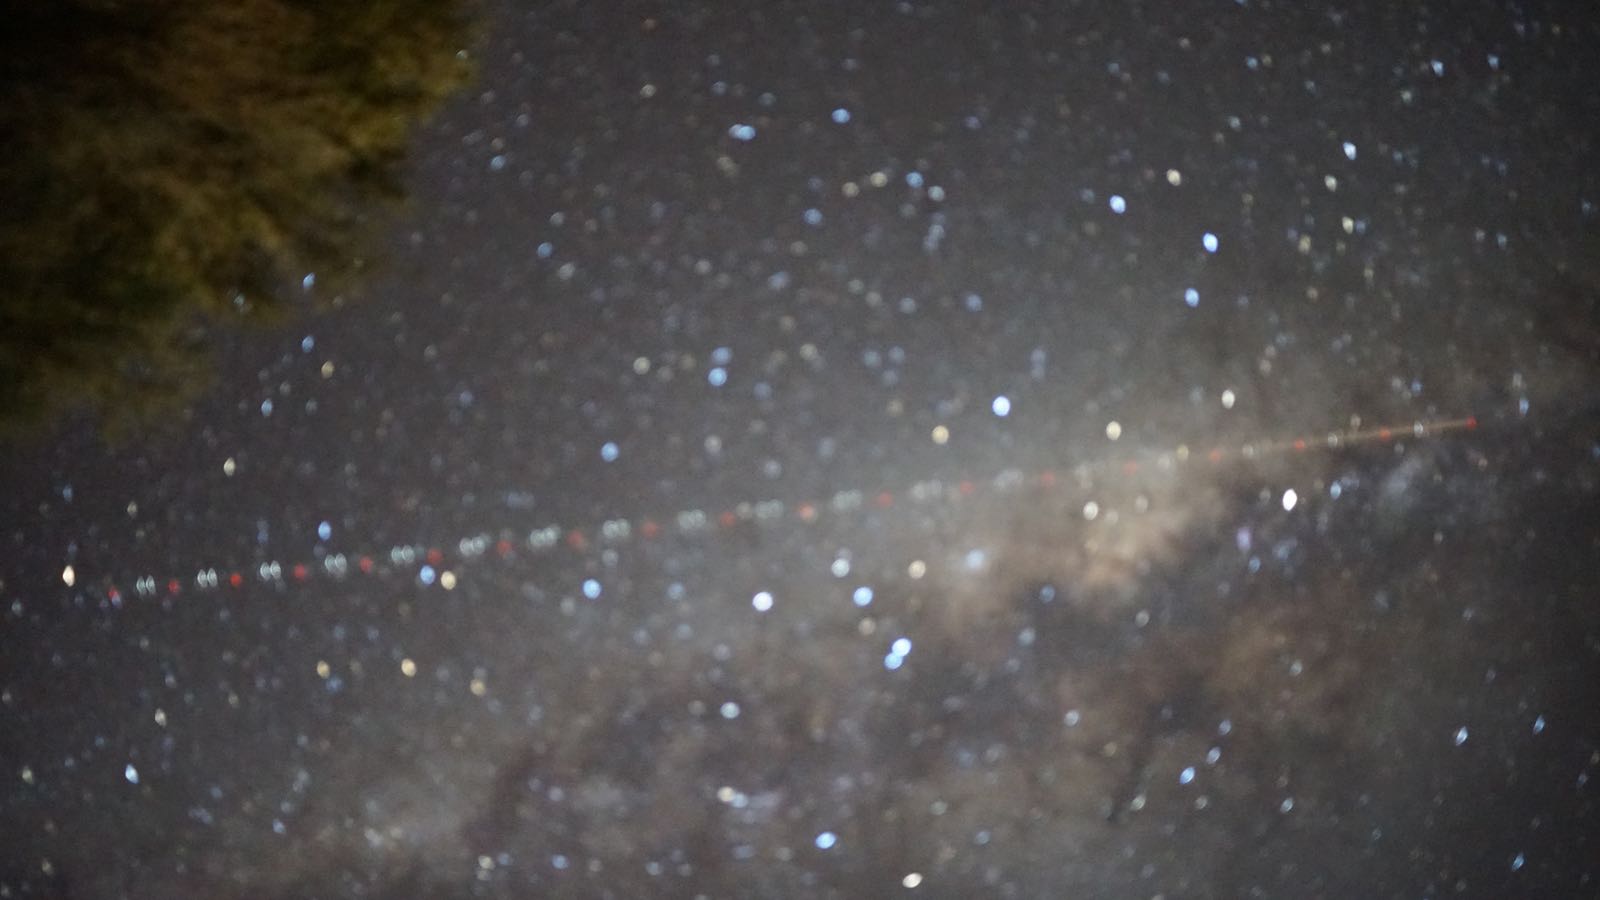
- If it’s blurry: something might be moving your camera in miniscule ways like the wind. Remember with such a long exposure any micro movement to your camera will cause blur. Weight your camera down, block wind, make sure people aren’t jumping around nearby.
- If stars look like little lines instead of dots: Your exposure time is too long and is picking up the stars moving lower the exposure (shutter speed) to 15-20 seconds (‘optimal’ exposure times may vary a bit based on the sensor in your camera and the lens) and increase ISO to adjust for the reduced light entering your camera.
- If it’s too dark: if you are at your maximum aperture then increase ISO.
- If it’s too bright: lower ISO/Exposure, block nearby lights, or any lights coming from your camera/nearby devices, find a darker spot might be more light pollution than you think.
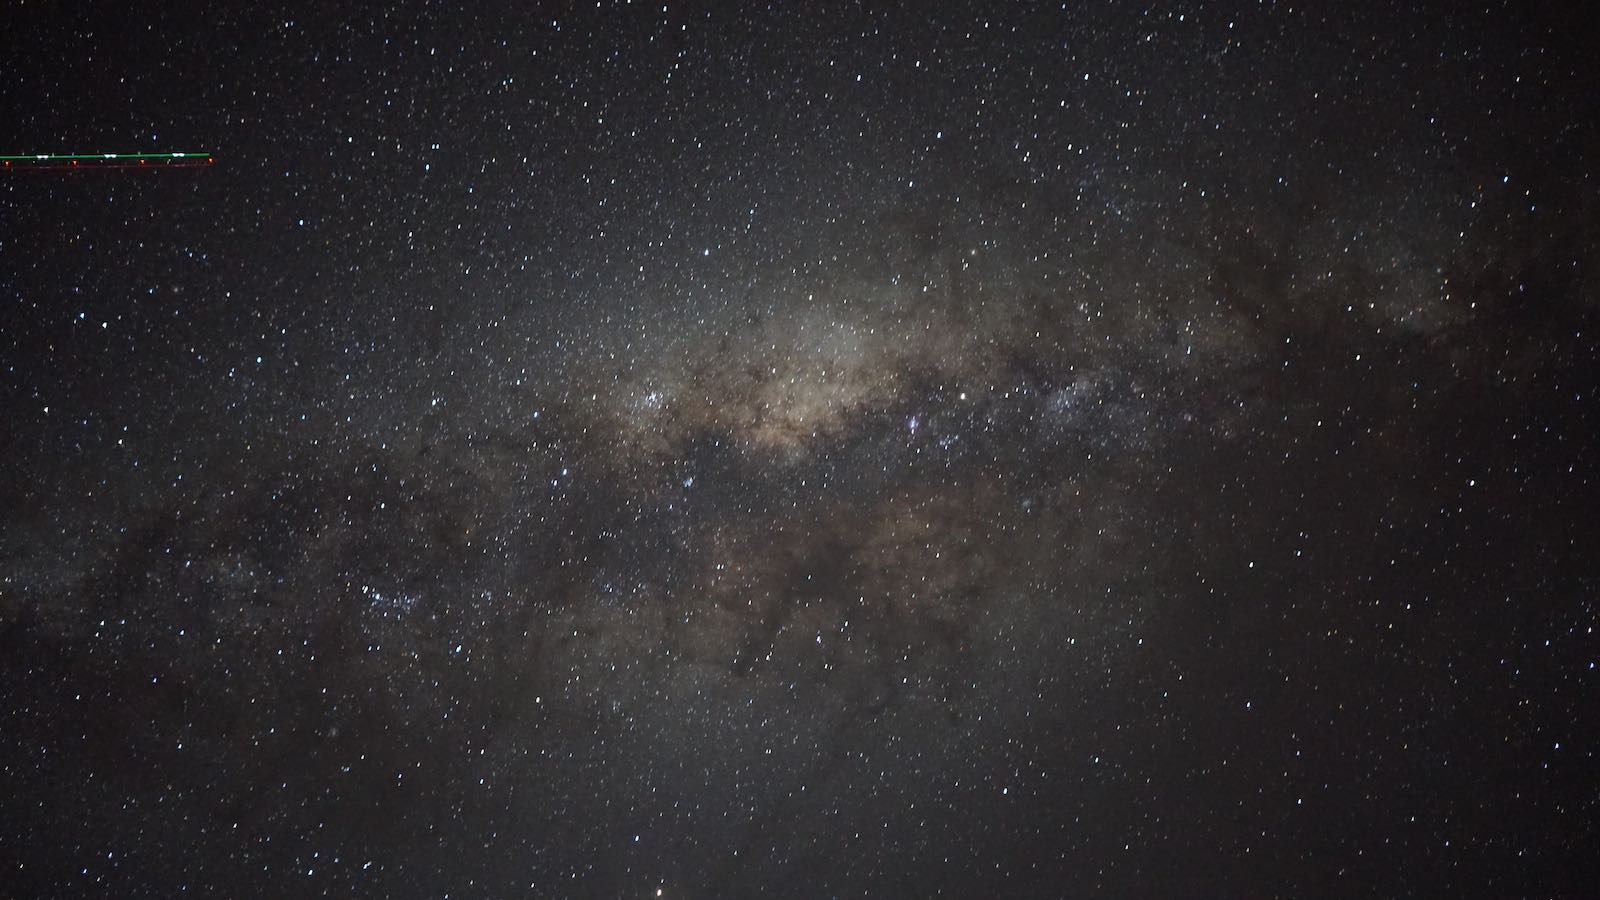
- There is a thin line or a dotted line across your photo: It’s an airplane, shooting star or the international space station!
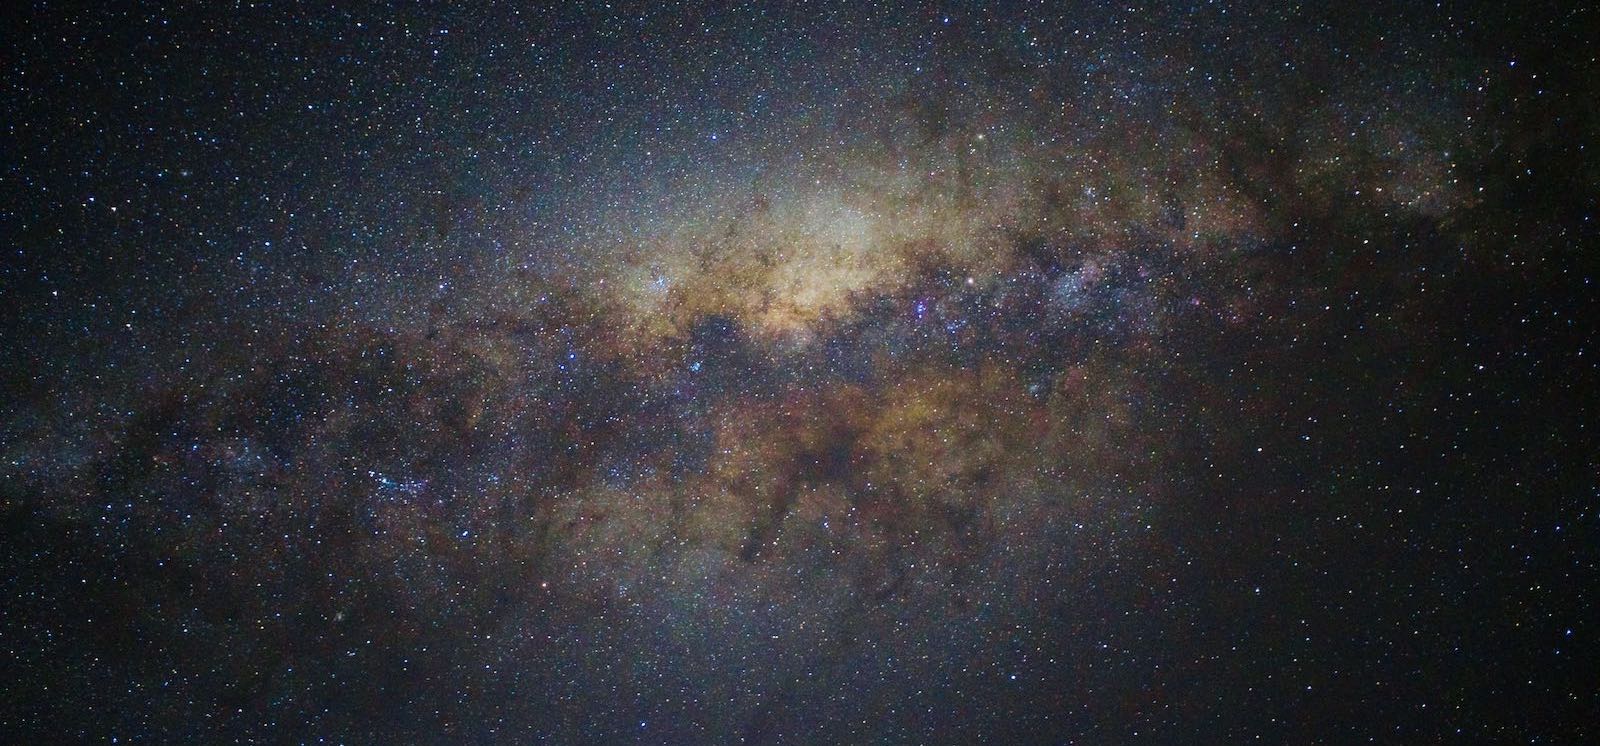
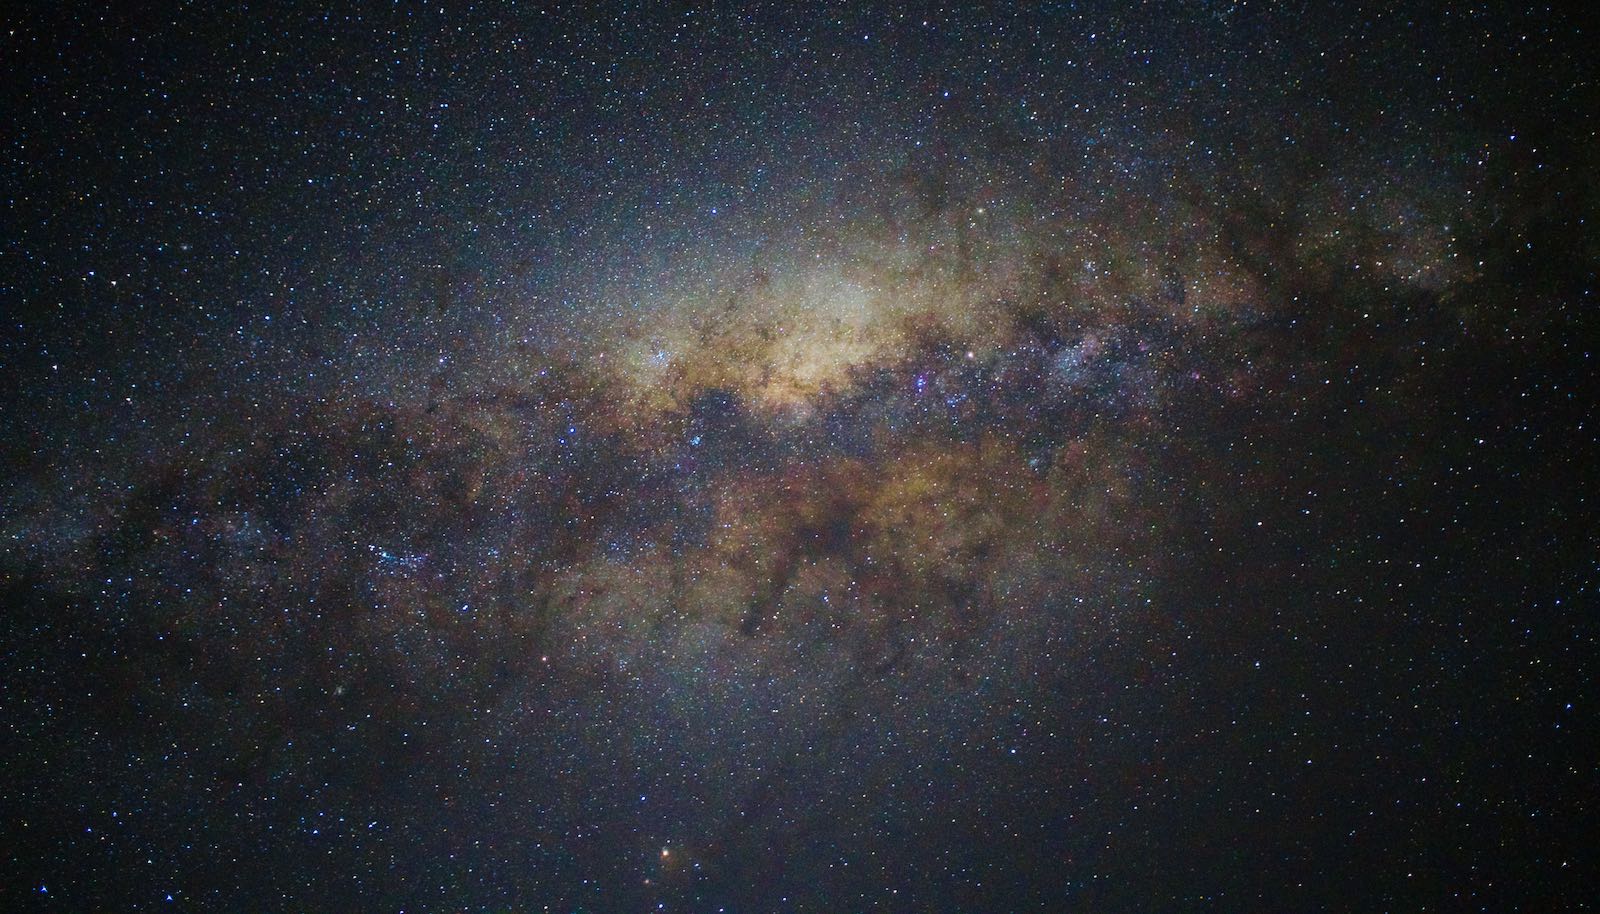
Raw Examples:
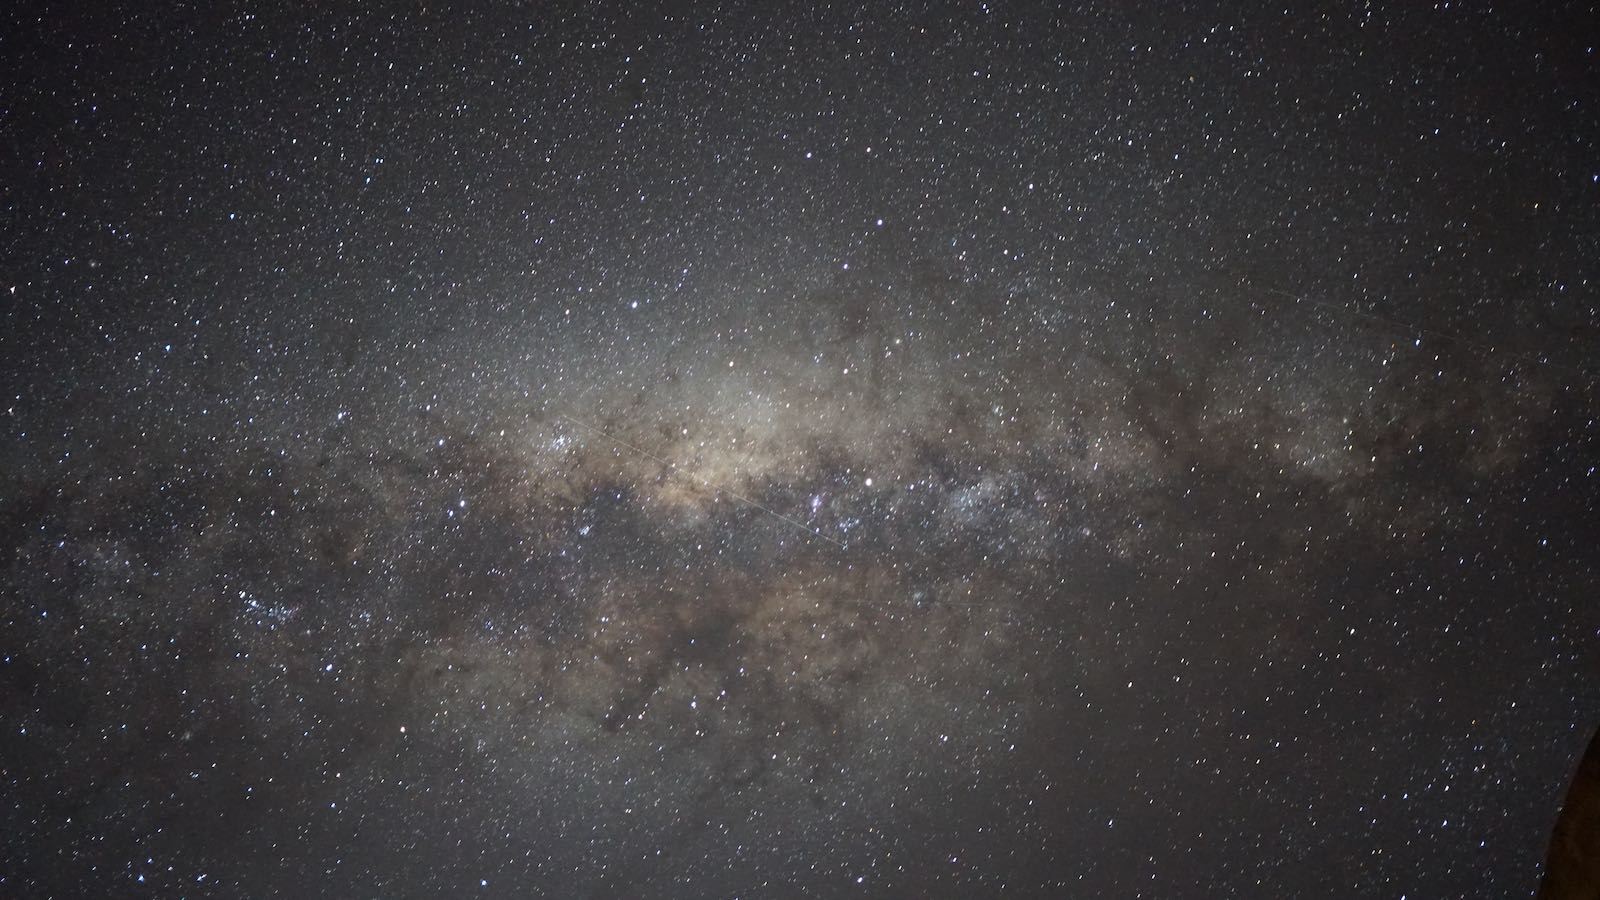
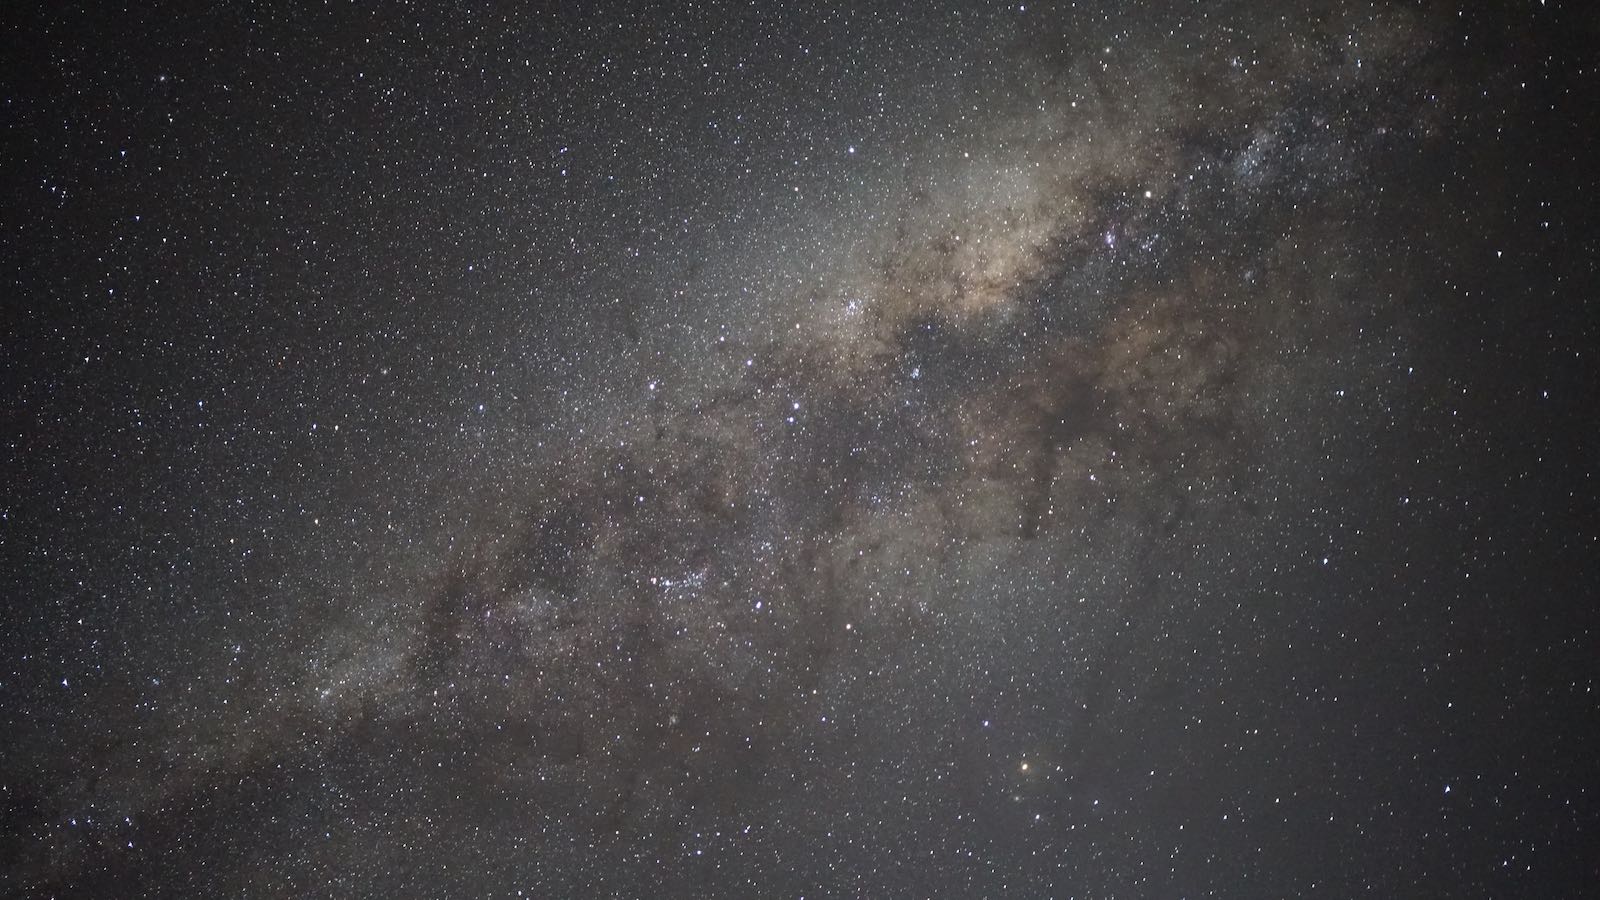

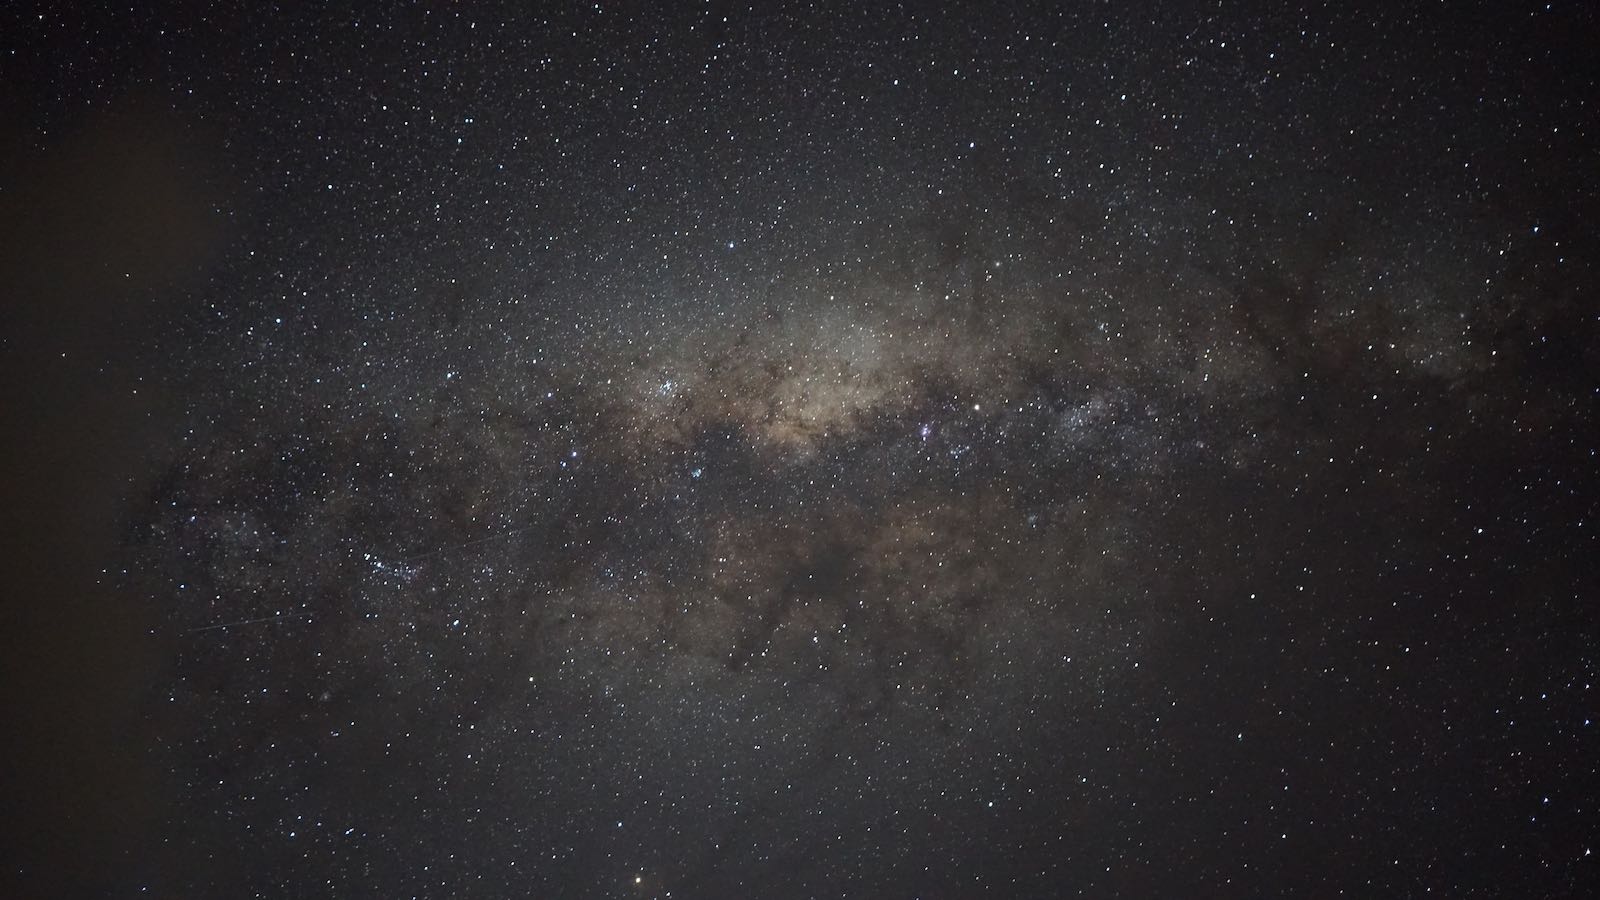
Afterwards it’s just playing around with the color curves, contrast, highlights, filters, etc… to bring out what you want to convey in the photo.
Happy photographing the stars!
*I was driving up to Mauna Kea Visitor’s Center at ~3am to get ready for a hike. I remember having to park my car on the side of the highway because I couldn’t focus on the road with the amazing sky full of stars above me. There were no other cars on the road, I turned off all my car lights, the road had no streetlights and it ran right through a vast unpopulated wilderness area in the middle of the already sparsely populated big island. It was absolute darkness, I couldn’t see my hands, but the sky was spectacular with the dense band of stars that filled in the milky way arm clearly overhead. I stood there on the side of the rode, staring up at the sky until it got too cold and my neck got sore.